Don’t Skip This Important Step in Quilting – Pressing Tips
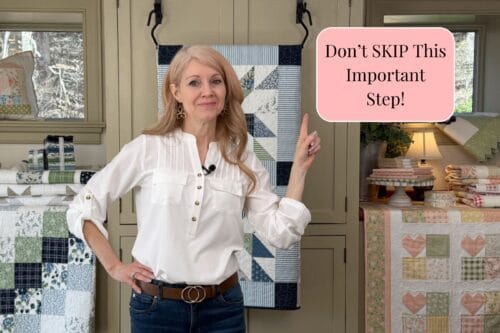
Hey there, quilting friends! Want perfectly flat quilt blocks with sharp seams and flawless points? It all starts with proper PRESSING! In this YouTube video, I’m sharing my best pressing tips to help you create quilts that look as beautiful as you imagined. ✨
Watch the YouTube video here. Or read about pressing tips below.
Pressing Tips 101
If you’ve ever struggled with wonky seams, mismatched points, or fabric that just won’t lay flat—chances are, pressing (or the lack of it) is to blame. But don’t worry! I’ve got some simple yet game-changing pressing tips that will take your quilting to the next level. So grab your iron, and let’s get started!
Before you even think about cutting your fabric, press it! Wrinkles and creases can throw off your measurements, leading to inaccurate cuts—and trust me, a tiny misalignment at the start can add up to big problems later! Open the fabric. press it to get center fold line out, then match selvages.
I also highly recommend starching your fabric before cutting.
- Starch adds body to the fabric. It gets out wrinkles and creases so you get accurate cuts
- Helps to prevent stretching or warping on bias cuts
- Helps reduce the amount of fraying
- And it’ll help with getting an accurate ¼” seam – YES! And that means smoother piecing and more precise quilt blocks! If you have trouble with your quilt blocks ending up smaller than they’re supposed to be and you’ve cut your pieces correct size and you have a ¼” seam allowance – it’s because of the pressing. Pre-starching will pre-shrink the fabric slightly so that any pressing during assembly won’t affect the size of the block.
Also if you pre-starch your fabrics you don’t need to starch them afterwards! Win-Win!
Once you start piecing your quilt top together, don’t just finger press and call it good! Press each seam carefully before moving on. This helps your blocks lay flat and makes them easier to assemble.
💡 Pro tip: Always press the seam closed first. Then open the piece and press to the direction you need.
Press seams open or press to the side?
Now, there’s always the debate: should you press your seams open or to the side? The answer is it depends on your quilt design and preference! Most of the time your pattern will tell you which way to press the seam.
Pressing seams open distributes bulk evenly, which is great for intricate piecing and makes quilting easier later. But pressing to one side adds strength and stability—especially useful for high-use quilts.
💡 Pro tip: If you’re pressing to the side, try pressing toward the darker fabric to prevent shadowing through lighter fabrics. This is also useful if you don’t know which way to press.
Pressing may seem like an extra step, but trust me—it makes ALL the difference! A well-pressed quilt block is easier to sew, easier to quilt, and just looks better overall.
Happy Quilting!


